
Heated Flooring Installation Guide for Efficient, Long-Lasting Home Comfort
You can make your floors reliably warm, more energy-efficient, and noticeably more comfortable with a properly installed heated flooring system. A correctly Heated Flooring chosen and installed system—electric mats for small rooms or hydronic tubing for larger areas—gives consistent, efficient heat and can integrate with your existing floor and thermostat for easy control.
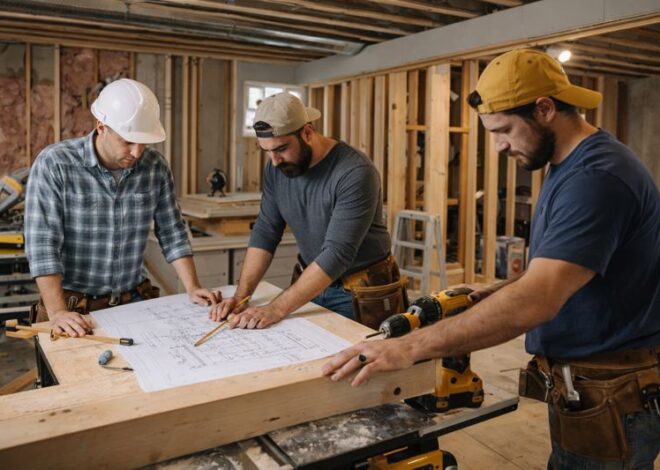
This article Heated Flooring Installation walks you through what installation involves, the practical benefits and trade-offs, and when to handle the work yourself versus calling a pro. Expect clear steps for preparing subfloors, selecting materials, and ensuring safe electrical or plumbing connections so you can plan the job with confidence and avoid common pitfalls.
Heated Flooring Installation Process
You will assess the room, select a compatible system and floor covering, and follow a clear sequence of preparation, electrical/plumbing hookups, and finishing steps. Pay attention to subfloor condition, layout planning, and local code requirements to avoid rework and safety issues.
Preparation and Planning
Start by measuring the room dimensions and calculating the square footage of heated area. Subtract areas under fixed cabinets or fixtures where heating isn’t needed. Use a diagram to mark zones, thermostat locations, and access points for wiring or manifolds.
Inspect the subfloor for levelness, moisture, and structural soundness. Concrete should be dry and within manufacturer moisture limits; plywood or OSB must be rigid and securely fastened. Install appropriate insulation or a thermal break beneath the system to improve efficiency.
Check local electrical and plumbing codes and obtain permits if required. Verify that your electrical panel has capacity for an electric system, or that the boiler and manifold can handle a hydronic loop. Schedule any trades—electrician or plumber—before you begin floor work.
Choosing the Right System
Decide between electric (cable or mat) and hydronic (PEX tubing) systems based on room size, budget, and existing infrastructure. Electric systems suit single rooms and remodeling jobs because they install thin and require only electrical connection. Hydronic systems are more efficient for whole-house heating but need a boiler or heat source and more complex installation.
Match the heating system to your finished floor covering. Tile and stone conduct heat well and work with both system types. Engineered wood and some vinyl products require temperature limits and specific underlayment; check manufacturer compatibility to prevent damage and warranty voids.
Choose controls and sensors deliberately. Programmable thermostats with floor sensors give precise control and prevent overheating of sensitive floor materials. For hydronic systems, select a manifold with flow meters and zone valves so you can balance and adjust each loop.
Step-by-Step Installation Guide
Prepare the subfloor by cleaning, leveling, and installing insulation or a decoupling membrane where required. For electric mats: unroll mats, cut the mesh (not the wire) to fit, and fix mats with thin-set or adhesive. Maintain spacing and avoid overlapping wires.
For electric loose cable: lay out spacing per watt-density requirements and staple or clip cables to a cement board or mesh. For hydronic: snap layout lines, secure PEX tubing with clips or rails, and maintain the recommended bend radius and loop lengths (typically under 300–400 feet per loop).
Connect the system to power or boiler by a licensed electrician/plumber. Install thermostat and floor sensor in a location representative of floor temperature, and wire per local code. Pressure-test hydronic loops and check electrical insulation resistance for electric systems before covering.
Cover the system with appropriate underlayment or thin-set and install the finished floor. Follow manufacturer curing times for mortars or screeds before powering the system. Program thermostats and test each zone while monitoring for leaks, uneven heat, or electrical faults.
Benefits and Considerations
Heated floors deliver steady, below-surface warmth and can lower the workload on your primary heating system. You’ll trade higher upfront costs and some installation complexity for improved comfort, potential energy savings, and flexible flooring choices when you plan correctly.
Energy Efficiency
Radiant floor systems heat objects and people directly, not just air, which reduces stratification and keeps lower thermostat settings comfortable. Hydronic systems tied to high-efficiency boilers or heat pumps typically run cheaper per BTU than electric mats in large areas.
Electric systems cost less to install in small rooms and when you only need spot heating, but they can be more expensive to operate if your electricity rate is high.
To maximize efficiency, pair the system with good insulation under the slab or subfloor and use programmable thermostats or room sensors. That reduces heat loss and avoids overheating when rooms are unoccupied.
Cost of Heated Flooring
Installation costs vary by system and scope: expect roughly $7–$22 per sq ft for hydronic and $8–$15 per sq ft for electric in many markets. Hydronic systems generally have higher upfront costs and longer install times, especially if you retrofit into an existing slab or raise floor levels.
Operating costs depend on your fuel source, local energy prices, and system controls. Hydronic systems usually yield lower long-term operating costs with efficient boilers or heat pumps, while electric systems are cheaper to install for small areas but may cost more to run.
Factor in potential resale value gains, maintenance (periodic checks for hydronic loops), and any subfloor modifications when budgeting.
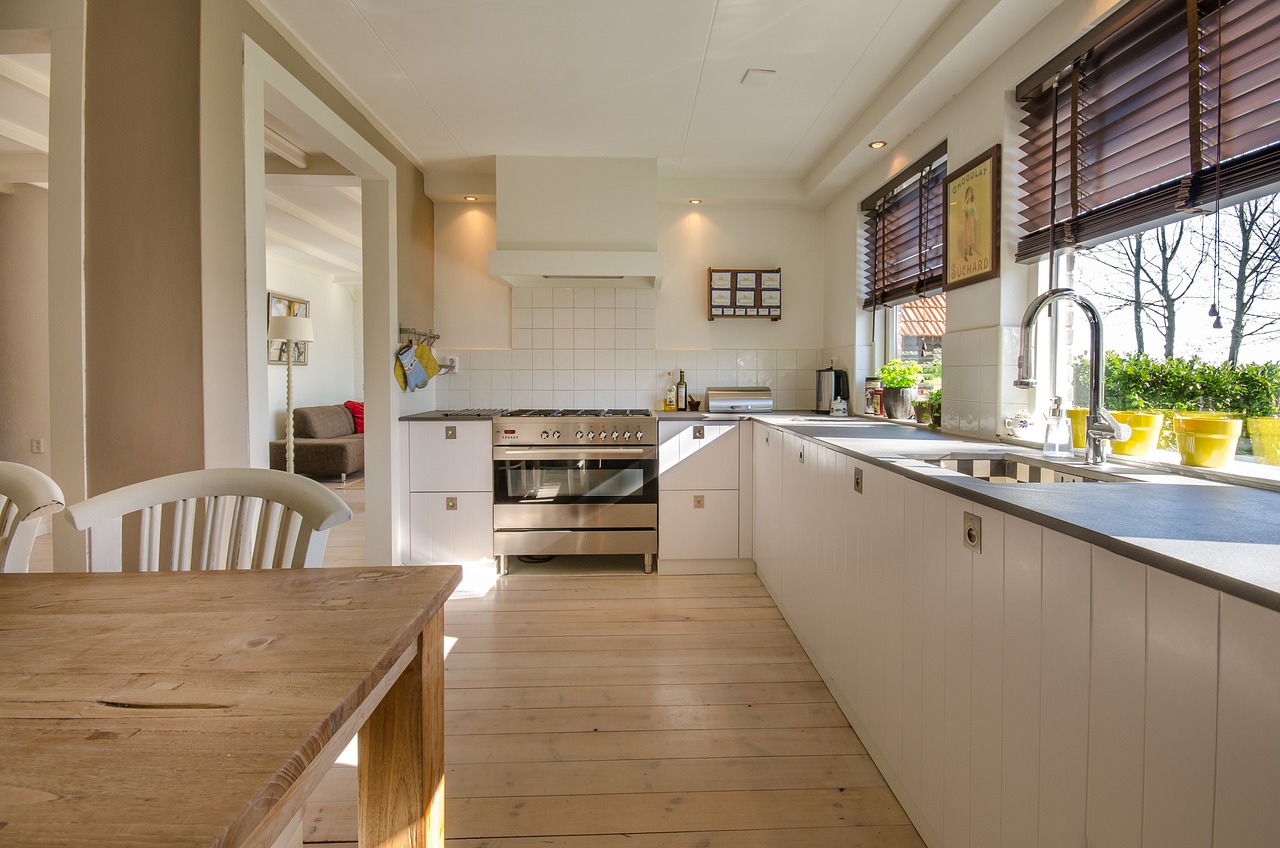
Compatible Flooring Types
Ceramic and porcelain tile transfer heat well and are the best-performing surfaces with radiant heat; they warm quickly and retain temperature efficiently. Stone and polished concrete also pair excellently due to high thermal conductivity.
Engineered hardwood can work if you choose stable boards and keep surface temperatures below manufacturer limits (typically 80°F/27°C). Solid hardwood and some vinyl or laminate products may require specific underlayment or manufacturer approval to avoid warping or delamination.
When retrofitting, check thickness and thermal resistance (R-value) of materials; lower R-values improve heat transfer. Always follow flooring and system manufacturers’ installation guidelines to preserve warranties and ensure even, reliable heating.