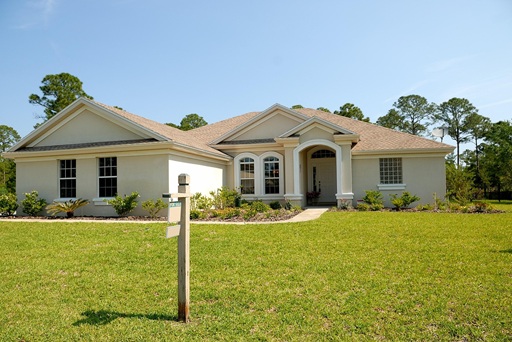


Home Addition Contractor Toronto: Expert Design-Build Solutions for Seamless Remodeling
Thinking about a home addition in Toronto can feel overwhelming, but you can make confident choices that protect your budget, timeline, and design goals. A local design-build contractor who handles permits, drawings, budgeting, and construction end-to-end will give you the clearest path from idea to finished space.
In this article Home Addition Contractor Toronto You’ll learn how to pick a contractor with the right track record, what questions to ask during planning, and how the pre-construction phase keeps surprises to a minimum. Keep reading to understand the practical steps that turn a tight lot or aging layout into functional, well-built living space.
Choosing the Right Home Addition Contractor in Toronto
You need a contractor who understands Toronto permits, neighbourhood zoning, and how to manage timelines and budgets while minimizing homeowner disruption. Prioritize clear communication, documented costs, and contractors with recent local references.
Key Qualities to Look For
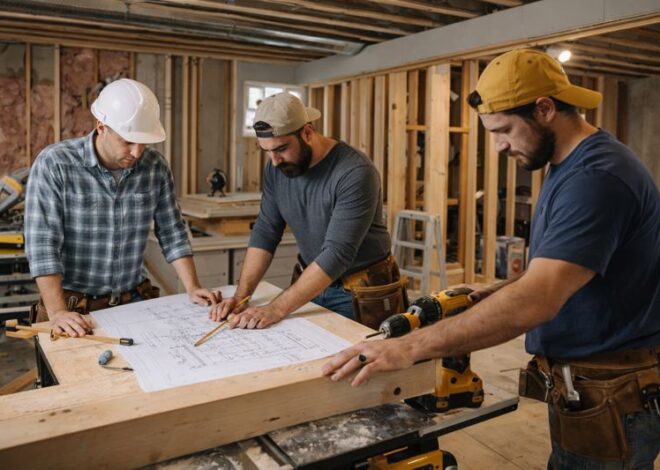
Look for contractors with proven experience on the specific addition type you want: rear extensions, second-storey additions, or detached accessory units (ADUs). Ask for a portfolio of projects in Toronto or the GTA that show similar scope, scale, and detail level.
Confirm the contractor uses a structured pre-construction process: written scope, a phased schedule, and documented change-order procedures. This reduces surprises and keeps budget control tight.
Evaluate onsite supervision and trade management. A dedicated project manager, in-house carpenters, or long-term trade partners improves quality and schedule reliability. Check reviews for responsiveness to delays and warranty issues.
Request a clear pricing format: line-item estimates, allowances for finishes, and contingency amounts. Avoid vague lump-sum quotes that lack detail on materials, labour, and permit fees.
Questions to Ask Prospective Contractors
Ask for recent, local references and contact them directly about schedule adherence, cleanliness, and how well the contractor handled permit issues. Specifically inquire about projects within the last 18 months.
Request a sample contract and point to clauses on scope changes, payment schedule, and dispute resolution. Ask how the contractor documents change orders and whether you’ll get signed approvals before work begins.
Clarify the project timeline: critical milestones, expected trades on site, and how weather or inspections affect completion. Ask how the contractor manages site protection for landscaping, neighbours’ driveways, and shared walls.
Probe warranty terms: what’s covered, duration, and response time for warranty calls. Also ask whether the contractor carries a performance bond or offers a final walkthrough with a punch-list before final payment.
Verifying Licenses and Insurance
Verify WSIB coverage and ask for a clearance certificate to confirm workers are covered for workplace injuries. This protects you from liability if a worker is injured on your property.
Confirm the contractor carries commercial general liability insurance with limits of at least $2 million, and request a certificate of insurance naming you as an additional insured during the project. Check policy dates to ensure coverage spans the entire construction period.
Check municipal requirements: many Toronto projects require a builder’s licence or trade-specific licences for electrical and plumbing work. Ask the contractor for permit history and copies of recent building permits they obtained.
Use Ontario’s public registries and call insurers or WSIB to confirm documents are legitimate. Flag any reluctance to provide paperwork; transparency here is a strong indicator of professional practice.
Planning and Executing a Successful Home Addition Project
You will need a clear brief, a realistic budget, and an approved permit plan to move from concept to a finished addition. Coordinate design, approvals, schedule, and contractor responsibilities early to avoid delays and unexpected costs.
Initial Consultation and Design Process
Start with a site visit and a written brief that lists rooms, square footage targets, and must-have features. Ask your contractor or designer for measured drawings, a schematic floor plan, and three options for layout and orientation to compare costs and livability.
Confirm structural implications during the design phase—rooflines, foundation tie-ins, and load-bearing changes affect both price and timeline. Request a written scope that names included finishes, systems (HVAC, electrical), and any allowances for fixtures so you know what the quoted price covers.
Insist on 3D renders or a virtual walkthrough when available. Those visuals reveal circulation problems and daylighting issues that 2D plans can hide. Keep communication documented: meeting notes, revisions, and approvals reduce scope creep.
Obtaining Building Permits in Toronto
Check local zoning and the City of Toronto’s permit requirements before finalizing designs. Typical submissions include site plans, architectural drawings, structural engineering reports, and energy-efficiency compliance documentation.
Expect permit review times to vary; simple rear additions may get faster reviews, while second‑storey or detached structures often require additional drawings and committee approvals. Budget time for revisions if the city requests more information or corrections.
Hire a designer or contractor experienced with Toronto inspections and municipal standards. They can pre-check drawings for compliance with bylaws such as lot coverage, setbacks, and the Ontario Building Code, reducing the chance of a refused permit.
Timeline and Project Management
Create a phased schedule that lists: design and approvals, demolition, foundation work, framing, rough-ins (mechanical/electrical/plumbing), insulation and drywall, finishes, and final inspections. Assign a single point of contact—project manager or site superintendent—to keep daily coordination lean and consistent.
Build contingency into the timeline: add 2–4 weeks for permit approvals and 1–3 weeks for material lead times. Plan for seasonal constraints; Toronto winters can slow excavation and exterior work, and supply-chain delays commonly extend finish timelines.
Hold weekly site meetings and keep a shared progress log with photos and signoffs for major milestones. Use a simple RACI table to clarify who is Responsible, Accountable, Consulted, and Informed for critical tasks.
Budgeting and Cost Considerations
Start with a detailed cost breakdown: design and permits, demolition, foundation, structure and framing, MEP (mechanical/electrical/plumbing), finishes, site work, contingencies (10–20%), and professional fees. Get at least three written estimates that reference identical scopes.
Account for hidden costs such as unforeseen structural repairs, utility relocations, and temporary accommodation if your home becomes unlivable during construction. Set aside a 10–20% contingency for these risks.
Negotiate fixed-price elements where possible and request allowance amounts for finishes with clear selection deadlines. Track change orders in writing and approve them with a revised schedule and cost before work proceeds.